 Bron Thulke - Web Developer
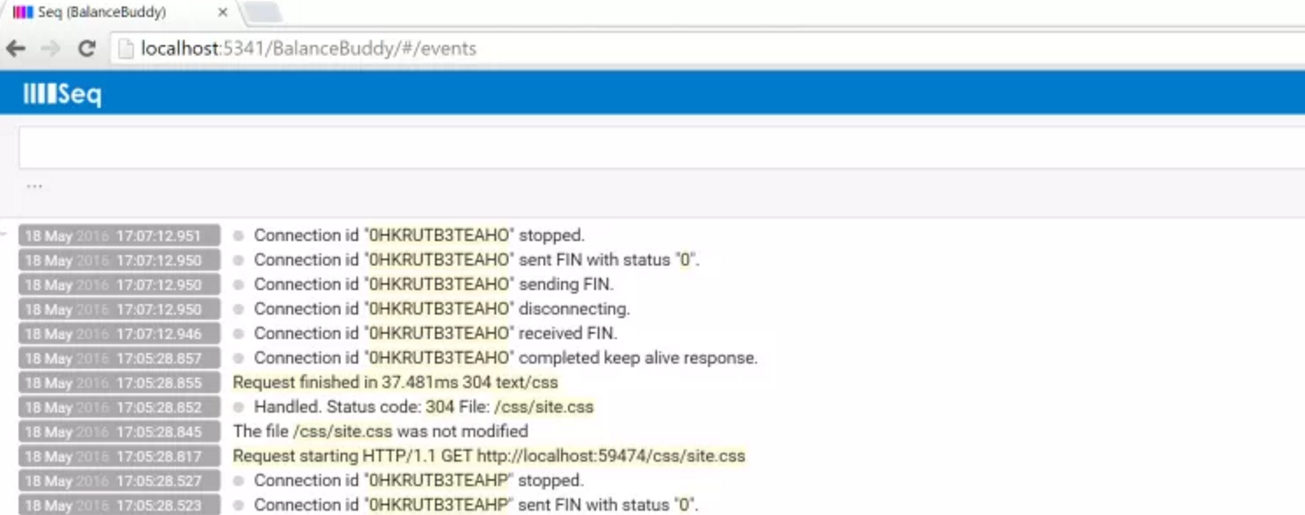
Structured Logging with Serilog in ASP.NET Core
I recently discovered the beautify of Serilog for logging from my ASP.NET (pre core) web apps, and converted one of my projects across completely to using it (rather than a haphazard, custom file logger that was written by myself years ago). Serilog is a powerful logging library that allows you to do structured logging, allowing you to basically have fields against any log messages (aka log events) containing serialised data - strings, integers, objects, etc.
It’s the objects part that’s really cool - say you are logging an order being placed, you can log the full Order object, and allow easy searching later on by a field such as the OrderId within that object.
Serilog provides a number of predefined sinks for logging to different places - e.g. console, debug, file, and variations of these (coloured console, rolling files). There are also a number of sinks available that don’t come “out of the box”, and the one I’ve started using and really like is for using the standalone web application Seq. Seq can basically act as a centralised repository for any and all log events that you want to be able to pull up for a given environment. You pass any log events (such as from Serilog) through to Seq, and then use a web interface to view/search those events. Note that Seq is a Windows service, so if you have another suggestion that is cross platform, let me know.
I’ve just finally found some time to start playing with ASP.NET Core (after a number of stunted attempts over the last few months!), and commenced with the simple tutorial on the ASP.NET Docs site for building your first ASP.NET Core MVC application, but pretty much the first thing I wanted to do after creating the basic site was try integrating Serilog and Seq… so this is how I did it.
Note that these instructions are based on using the latest release of ASP.NET Core - RC2. I did run through all of this first in RC1 (just days before RC2 was released) and everything was pretty much the same for integrating Serilog/Seq.
Install Seq
You will need to install the Seq application separately. Go to https://getseq.net/Download and grab the latest MSI and install it.
The default configuration will use port 5431 for the web application, and I use that. I have also actually set it up for “instances”, which is useful when you have multiple apps that you want to be logging events from on one computer (good for a development or multi-host production environment), but the setup of that is a topic for another post <inserting post promise here!>.
Once installed, you’ll be able to browse the Seq UI at http://localhost:5341, it will be pretty empty for now.
Create the ASP.NET Core Web Application
The first step is to web application, and with the release of .NET Core RC2 this is even more streamlined. Open Visual Studio 2015 and choose File > New > Project. From the New Project dialog choose “ASP.NET Core Web Application (.NET Core)” and give it a name:

(note on this: I currently have TWO options for this, one of which gives me extra options on this dialog for setting up Application Insights. I chose the one that didn’t give me that option, but I’d presume at this stage there’s not difference. Also you could do all of this against an ASP.NET Core Web App that used .NET Framework, too).
The next dialog allows you to select your Template, so choose Web Application, and optionally include authentication and/or hosting in Azure (we won’t publish it to there in the scope of this post);

Your new project will be created, and if you hit F5 to build and run it, you should see the new website run in your browser:

Install NuGet Packages
Next we will install the following NuGet packages:
- Serilog - Simple .NET logging with fully-structured events
- Serilog.Extensions.Logging - Serilog provider for Microsoft.Extensions.Logging, to implement ASP.NET’s ILogger on top of Serilog
- Serilog.Sinks.Seq - a Serilog sink that writes to the Seq event server over HTTP/S.
In Visual Studio, open the Package Manager Console available and run the following commands (currently these packages are all in pre-release, so note the inclusion of -pre in each command):
Install-Package Serilog -Pre
Install-Package Serilog.Extensions.Logging -Pre
Install-Package Serilog.Sinks.Seq -Pre
Interestingly, the way I understood it the Package Manager Console wouldn’t actually work unless targeting full .NET Framework, but it’s working for me now so perhaps this changed between RC1 and RC2.
Update Startup to Use Serilog
The final step is to update the application code to use Serilog for logging, and to push events to Seq.
In Startup.cs, add a using statement at the top of the file:
using Serilog;
Add the following into the Startup() constructor to configure Serilog:
            Log.Logger = new LoggerConfiguration()
                .MinimumLevel.Debug()
                .WriteTo.Seq("http://localhost:5341/")
                .CreateLogger();
Here I have assumed that you configured Seq to use the default port. Change the endpoint if necessary, and if you’ve set up instances then it will need to include the instance, e.g. http://localhost:5341/SerilogExample.
Now in the same file, locate the Configure() function and add in a call to the Serilog middleware:
// Add Serilog to the logging pipeline
loggerFactory.AddSerilog();
You could add this before or after the existing loggerFactory lines.
Now just hit F5 to rebuild and run your app, and then in a separate browser tab go to http://localhost:5341 to view the Seq application, and you should see lots of fascinating events being logged - even just out of the box without adding any custom application logging, .NET logs some very useful information about the requests being processed.

Next Steps
From here you can start to perform some custom event logging from your application, and I will follow up ASAP with a post about doing this. For now, also, you can play with the configuration of Serilog to alter the level of detail being logged and take a look at their documentation on GitHub for ideas on how you could further extend and customise your site’s logging.